

creating a winter faerie crown
Here's a little behind the scenes of the creation of one of my faerie/mermaid headbands.
It is by no means a step by step how-to, though I think there is enough general info here to follow along so I encourage you to be creative and make your own version if you're feeling crafty!
I get asked about the creation process so I thought I'd share. I also get questions about pricing, which I completely understand as sometimes a piece looks really simple and the price point seems high. The supplies that go into a piece are where my pricing starts, but from there it is the time and work that go into the creation that make up the rest of the cost.
The headband crowns for instance, usually take many hours of meticulous, and sometimes tedious, fussing, but though I may occasionally... once in awhile... perhaps... want to scream - I love making them.
While some people like to have an exact design before starting, I like to leave things more open. I have a basic idea in place and will lay that out along with the supplies I am drawn to for the piece, but from there I let each step of the work dictate my direction. Sometimes it's exactly what I envisioned, the odd time things change completely along the way and there is nothing of what I initially imagined left to be found. This works for me. Do what makes the most sense for you.
This piece is a little simpler, not in time and effort, but with regards to supplies. There are no shells or other odd shaped elements that need to stand upright and be precisely arranged, this one is made with an assortment of beads. Hundreds of them. Many that can't even be fully seen in the finished piece, but they build up the whole thing and they do have impact on the final look.
Anywho, enough babbling. here we go.

Supplies and tools laid out. Forming the centre of the design to build on. Beads twisted into wire-like branches are then wrapped around the headband.

Decided I definitely wanted beads along the entire length of the headband (aside from the behind the ear bit at the bottom).
Let the wire wrapping, and getting myself tangled up, begin.
I strangely love this part. It can be a little slow going wiring one bead at a time over the entire band, but I like watching it fill in. I can see the progress as I go at this stage. At other points in the building up process you don't get that immediate visual payoff.
I also added more twisted wire branches in the centre as I wanted some silver and gray accents.

I wanted to fill out the side beads to create a more ice crystal-y (yes, that's the technical term) look.
I switched to silk thread for the addition of the seed beads. A little easier to get through smaller beads and keeps the wire from getting too bulky underneath.
The beads do like to slide around more though.

Sewing in all the seed beads takes a while as they run the entire length of the headband and are layered throughout the centre crown section.
Plus, more tangling.
Though that could just be me.

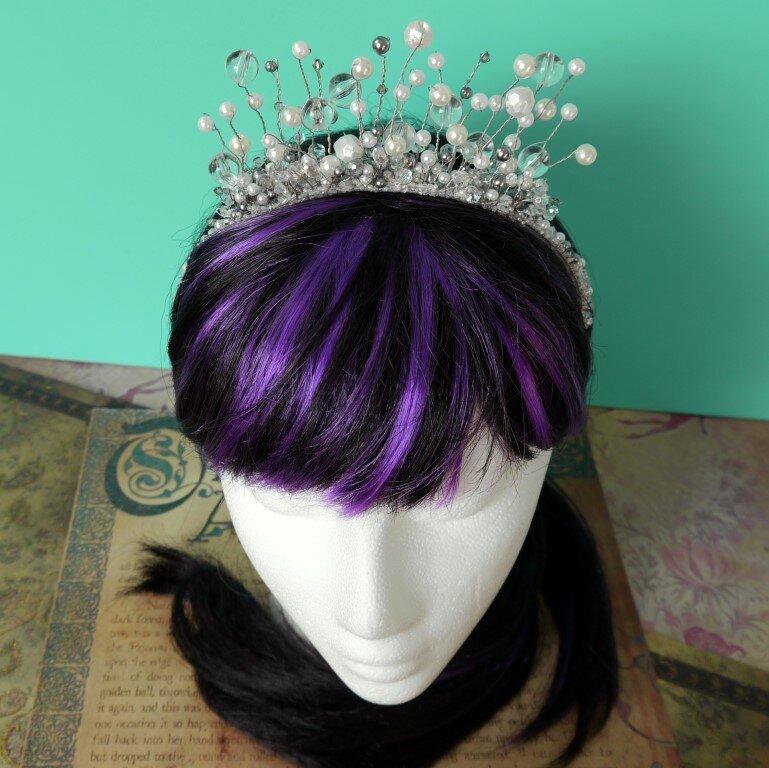
You may have noticed that in this, and the above photo, I added more crystals and glass pearls to the centre section. I wire wrapped those in to add more sparkle and to fill that area out. It was too sparse as it was. I wrapped many layers of these before sewing the seed beads to that section.

Almost finished. Kind of.
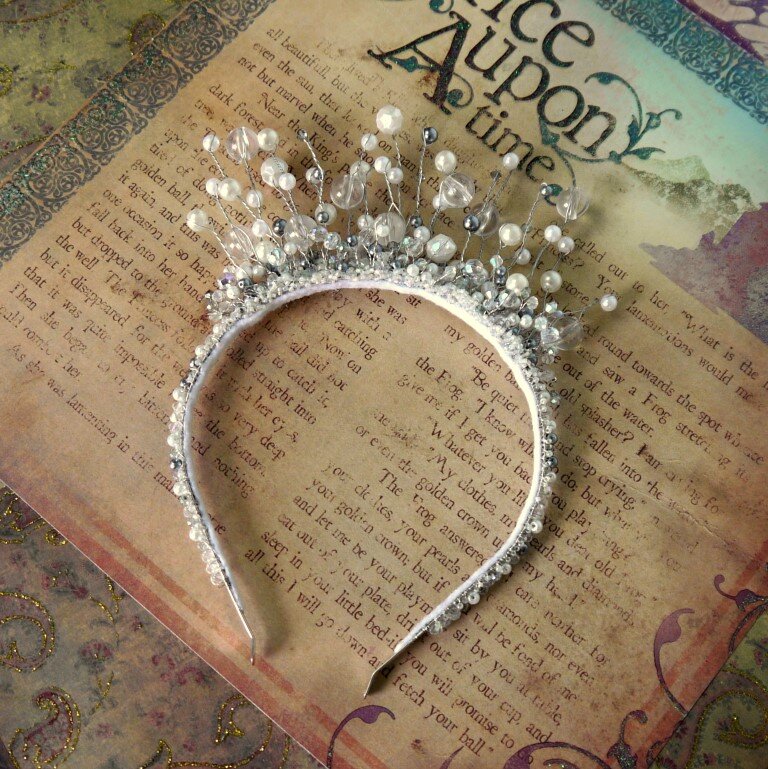
I cut a thin strip of felt to line the headband as this cleans up the overall look and while it may not completely eliminate the tangles that occur with wire wrapped items, it cuts down on them a lot.
After the felt was added and had time to fully adhere, I could see what areas needed to be filled in a little more and added beads to those areas to polish up the final piece.
Though it might be hard to see this part in the photos of the completed piece below, this last step makes a big difference.
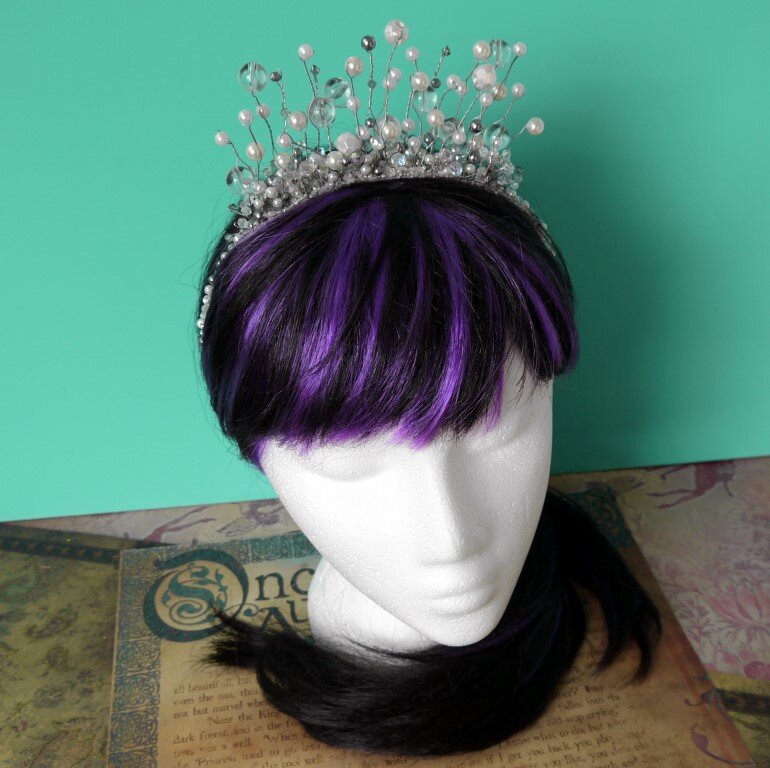
There you have it.
Hope you enjoyed.
Hope it helped in understanding the process (or at least part of my process) a little more.
Hope it inspires you to your own creations, whatever they may be!

